LiveWall Indoor in 8 Simple Steps
LiveWall Indoor in 8 Simple Steps
STEP 1
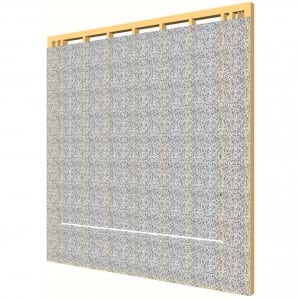
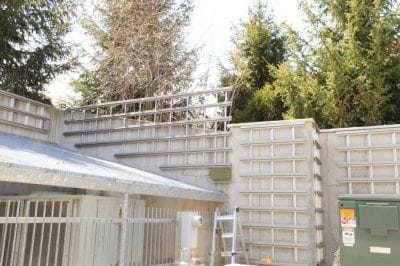
Locate bottom of installation, then snap chalk-line level with bottom of wall location.
STEP 2
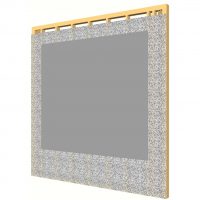
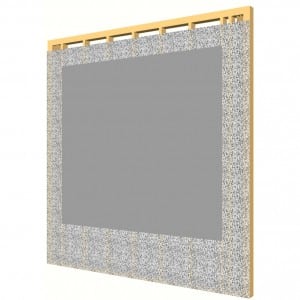
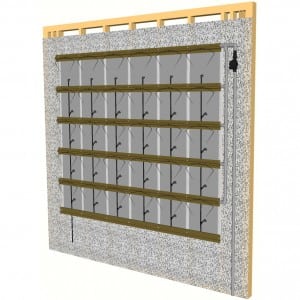
Cut to size, then attach waterproofing material over the area to be covered with green wall.
STEP 3
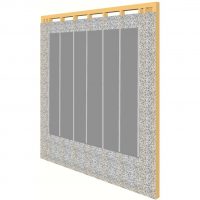
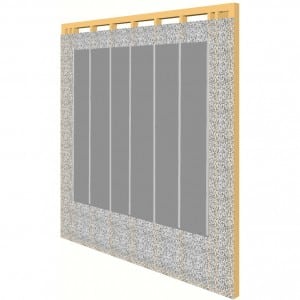
Install furring strips to the wall over the waterproofing material spaced vertically 16 or 32 inch on center.
STEP 4
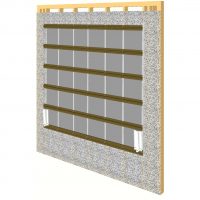
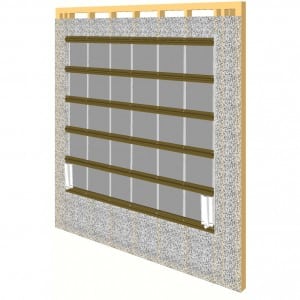
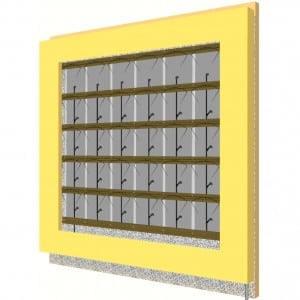
Using provided GapTools, space and attach RainRails (for automatically irrigated system), or slot rails (for hand-watered system).
STEP 5
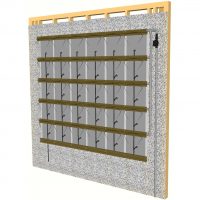
If automatically watered, hook up the irrigation feed and install drip emitter assemblies. Assemble rear drain components and connect to drain or sewer lines.
STEP 6
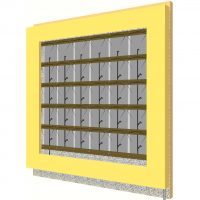
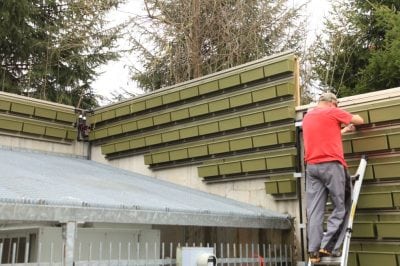
Use supplied brackets to mount contractor-sourced facing material to cover irrigation feed.
STEP 7
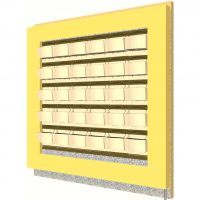
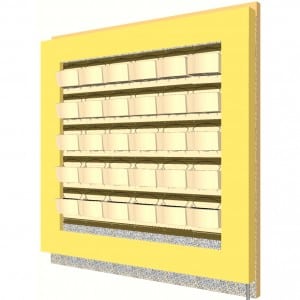
Connect drain elbows to planters, connect to drain tube assembly, and drop planters into slot rails.
STEP 8
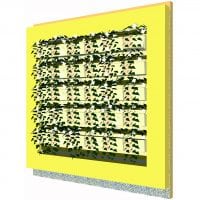
Using provided GapTools, space and attach RainRails (for automatically irrigated system), or slot rails (for hand-watered system).
Frequently Asked Questions about Living Wall Installations
LiveWall is a soil-based living wall system that utilizes molded-planters, and the structures must be designed in the increments required to accommodate full planters:
Horizontal spacing: 16″ on center
Vertical Spacing: Large Planters (Indoors or Outdoors): 16″ on center, Standard Planters (Outdoors): 12″ on center
Typically, the only components that you would need to cut to fit are the furring strips and irrigation lines. RainRail® irrigation conduit slot rails are manufactured in a variety of lengths divisible by 16 inches. Our design staff chooses appropriate RainRail lengths to eliminate field cutting.
In some cases, field conditions may not match the site plans provided to LiveWall and custom cutting may be required. In those cases, the rails must be cut to 16 inch increments.
When cutting irrigation conduit rails, do not use hack saw as it leaves rough burrs which will plug the irrigation nozzles. Instead use diamond blade on circular saw (We recommend the Slugger Metal Cutter by Jancy). Carefully clean the cut end of all burs and debris to prevent clogged nozzles or damage to RainRail fitting o-rings.
The LiveWall system includes furring tracks, which provide flexibility in design over a number of different applications. The building wall design and means of fastening LiveWall to the wall system are the responsibility of the local architect and/or structural engineer and installation contractor and must comply with local codes. The installation contractor will be responsible to select appropriate anchors.
We contacted Fastenal and HILTI for their recommendations for various types of wall structures, and compiled them below (based on 18 pounds per square foot). Contact your preferred anchor manufacturer to confirm suitability for your application. Please note that adhesives should not be used.
| Wall Material | Fastener Type | Size | Pilot Hole | MFG/ Vendor | Part |
| Brick | Torx Hex Washer Head Screw Anchor | 1/4″ x 1-3/4″ | 1/4″ | HILTI | KWIK-CON II+1/4″ x 1-3/4″ THWH St Steel |
| ITW Red Head Tapcon Screw Anchor | 1/4″ x 1-3/4″ | 1/4″ | Fastenal | 0131211 1/4″ x 1-3/4″ Hex Washer, Hex Drive, St Steel | |
| CMU | Torx Hex Washer Head Screw Anchor | 1/4″ x 1-3/4″ | 1/4″ | HILTI | KWIK-CON II+1/4″ x 1-3/4″ THWH St Steel |
| ITW Red Head Tapcon Screw Anchor | 1/4″ x 1-3/4″ | 1/4″ | Fastenal | 0131211 1/4″ x 1-3/4″ Hex Washer, Hex Drive, St Steel | |
| Mortar Joints | Not Recommended | ||||
| Poured Walls | Torx Hex Washer Head Screw Anchor | 1/4″ x 1-3/4″ | 1/4″ | HILTI | KWIK-CON II+1/4″ x 1-3/4″ THWH St Steel |
| ITW Red Head Tapcon Screw Anchor | 1/4″ x 1-3/4″ | 1/4″ | Fastenal | 0131211 1/4″ x 1-3/4″ Hex Washer, Hex Drive, St Steel | |
| Steel Studs | Ballistic Point, Single Fastener | 0.157-1″ | N/A | HILTI | X-U 27 P8 TH
Metal “Tophat” & 8mm Plastic |
| Aluminum Studs | Ballistic Point, Single Fastener | 0.157-1″ | N/A | HILTI | X-U 27 P8 TH
Metal “Tophat” & 8mm Plastic |
| Wooden Studs | Torx Hex Washer Head Screw Anchor | 1/4″ x 1-1/4″ | 1/4″ | HILTI | KWIK-CON II+1/4″ x 1-1/4″ THWH St Steel |
| ITW Red Head Tapcon Screw Anchor | 1/4″ x 1-1/4″ | 1/4″ | Fastenal | 0131211 1/4″ x 1-1/4″ Hex Washer, Hex Drive, St Steel | |
| EIFS | Varies, fasten through Exterior insulation and finish system (EIFS) to structure below. | ||||
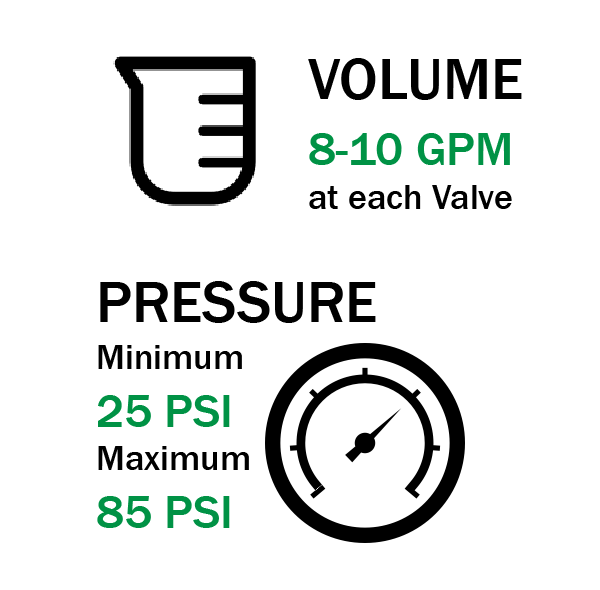
The LiveWall System requires an irrigation feed that is capable of providing sufficient water volume and pressure for each irrigation zone. The backflow preventer should be hooked up to a feed line that is at least 25PSI, not to exceed 85 PSI. Pressures over 85 PSI may damage fittings and lead to leaks.
Each valve requires 8-10 gpm per valve (zone), regulated to 15psi pressure, via pressure regulators that are placed upstream of each valve. In some cases, a booster pump may be required to ensure that the upper valves receive sufficient pressure and flow to water the planter array evenly.
LiveWall quotes mainline irrigation components for each project, and this includes backflow prevention, irrigation controller, and a micron filter to keep any waterborne debris from plugging up the irrigation nozzles. Installation contractors must source pipe and fittings to connect mainline to the irrigation valves.
LiveWall is usually installed by professional contractors specializing in landscape, irrigation, plumbing, siding, or general construction.
Need a referral to a local contractor?
Yes. Among the commercial-grade planted living wall products, LiveWall is among the simplest to install.
LiveWall installation requires little guesswork, and can be completed with common tools of typical tradesmen. The irrigation system is integrated into the planter array, installation steps are spelled out in our installation guide and video, and custom shop drawings are produced with each order.
Fast easy installation is the norm, and this equates to economical installation.
Our time studies indicate that it takes an average 1/3 (.33) man- hour of labor per square foot for most LiveWall installations. It likely will be somewhat less for large, rectangular applications and greater for small or complex-shaped applications.
The infrastructure of the LiveWall system can be installed in every season, with some caveats:
- The irrigation system should not be activated at temperatures at or below freezing. Thus, the irrigation system will need to wait to be tested until temperature climbs above freezing.
- Nozzles should not be installed until the irrigation system has been tested and run to flush out any debris introduced during the installation.
- Generally, plants should be not be installed during winter. We recommend that they are held at the nursery until the spring.
To minimize installation time, please familiarize yourself with the installation instructional video.

