Planting Instructions
Green wall planting is simple, easy, and can be quite fun!
This guide provides basic instructions for planting various types of living wall plants.
1: Consider your light exposure
East and west-facing walls will be partly sunny and partly shady. In the northern hemisphere, south facing walls will be sunny and north facing walls will be shady.

2: Consider your climate
What type of climate is your project in? Do you have a year-round growing season? Do you have freezing winters? In the winter months, will you be able to water the wall during warm spells (if not, you could consider using annuals vs. perennials).

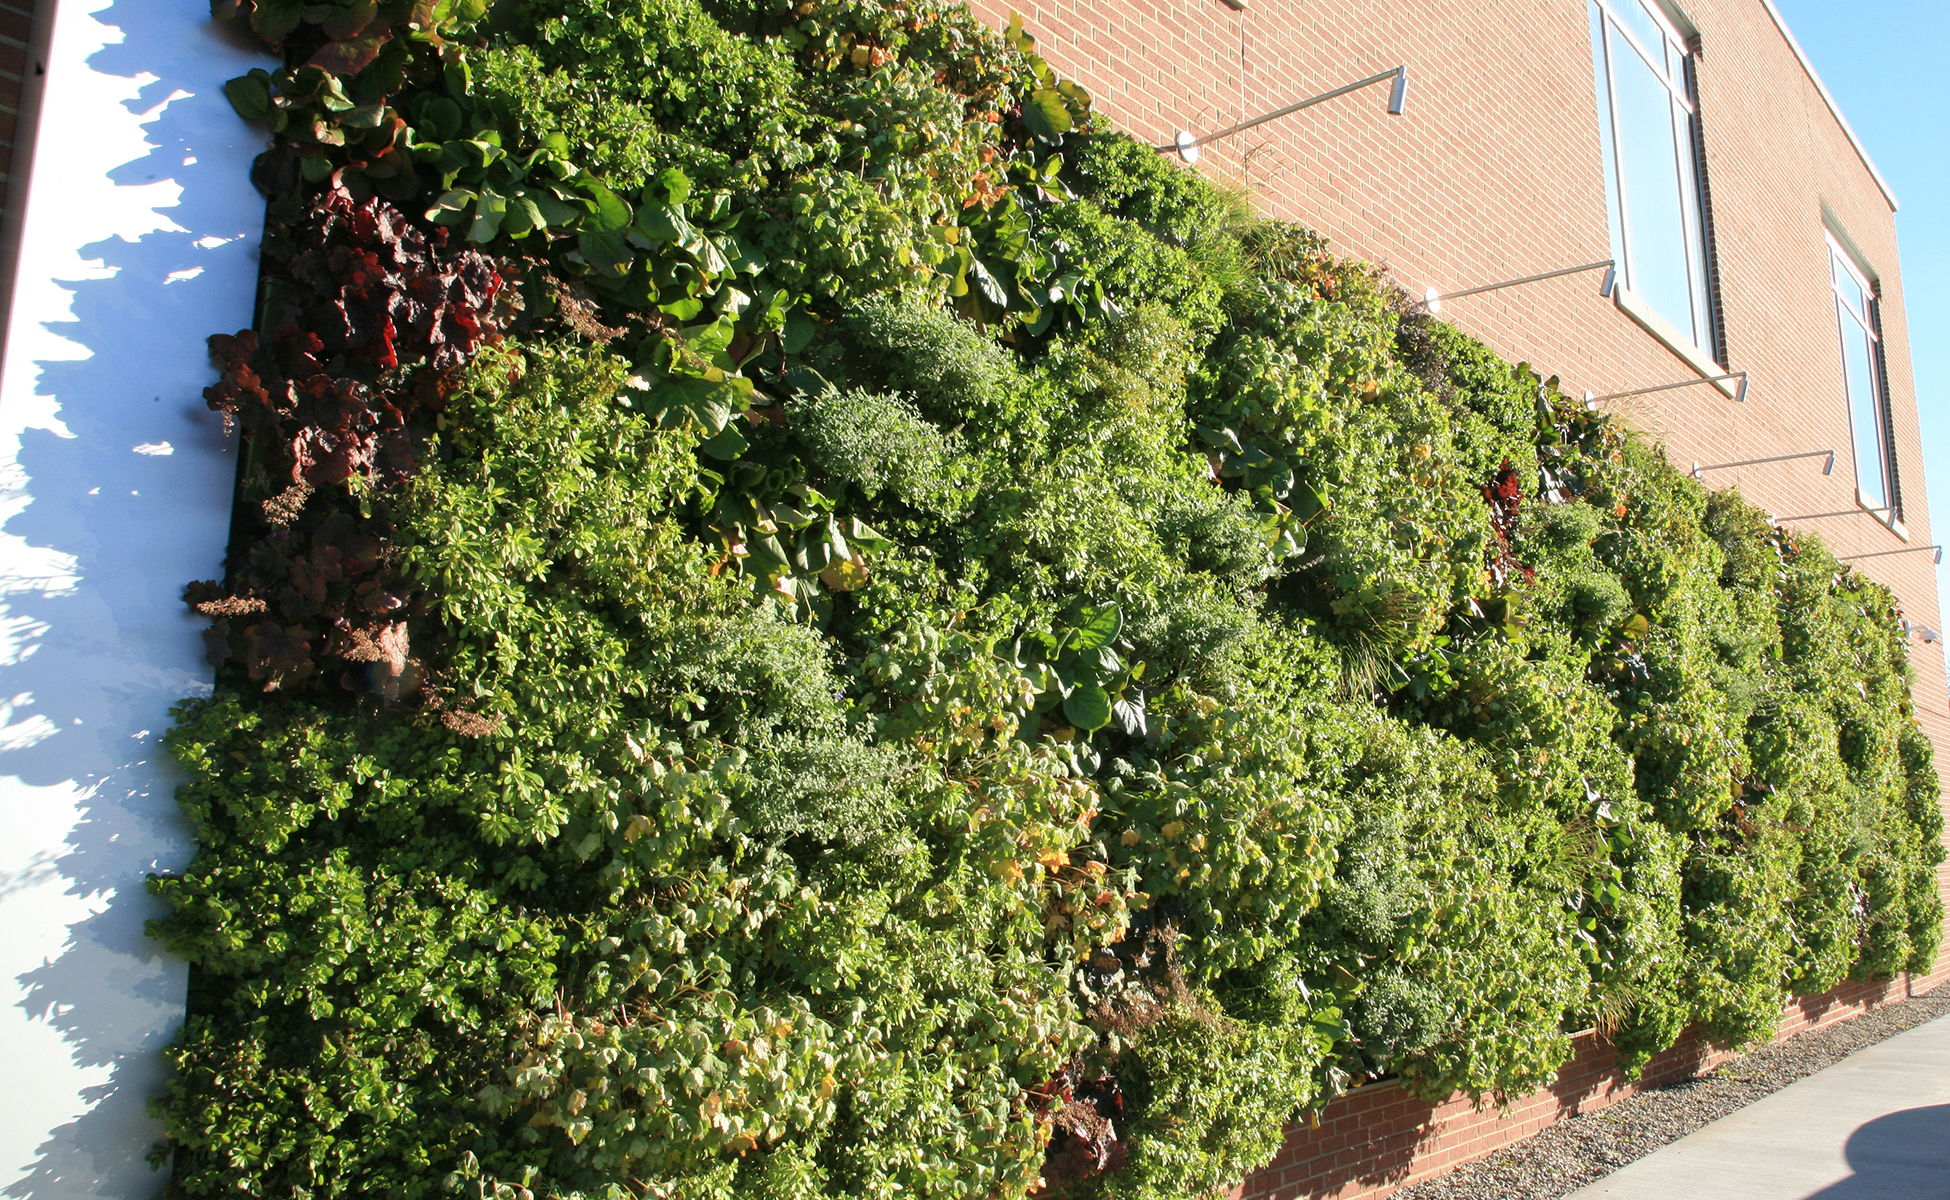
3: Select plant type(s)
The combination of climate and light exposure will allow you to know which plants will work in your particular setting. Your plant choices may involve the following types of plants.
4: Select soil
Once you have decided which plants to grow in your living wall, select the appropriate soil. Contact your local garden center for assistance in selecting a locally available blend that supports the needs of your plant selections.
The makeup of the growing medium depends upon the plants you choose to grow, as the media should have last to match the life expectancy of the green wall plant.

For Annuals, Vegetables, Small Fruits, and Herbs
Plants are expected to be used for one full year need a good quality peat-based or coconut fiber-based potting soil. These are available at local garden centers.

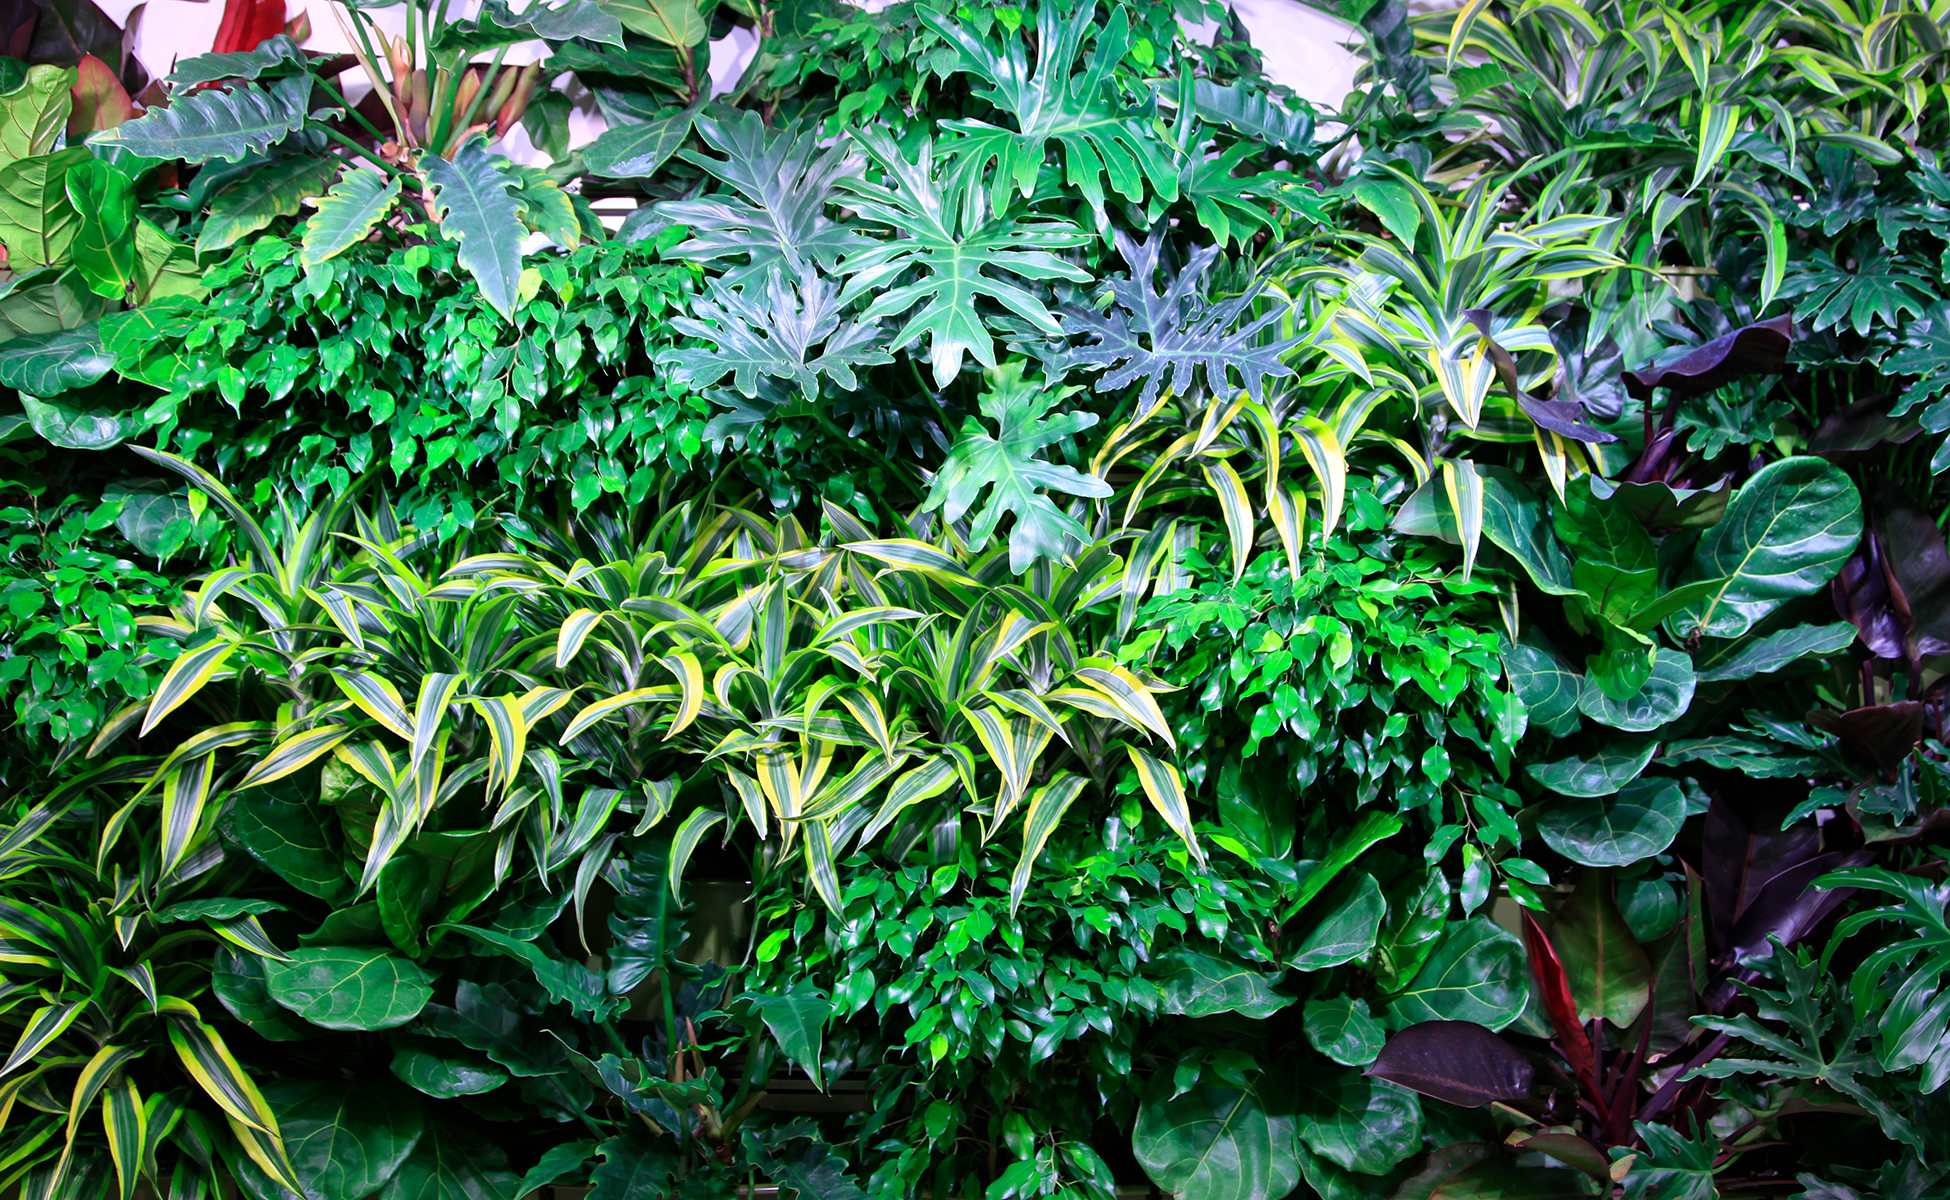
For Perennials, Vines and Tropicals
Plants that are expected to last for 3 to 5 years before dividing, use a good quality potting soil, with perlite or pumice and/or composted pine bark. Such potting soils will tend to decompose less.

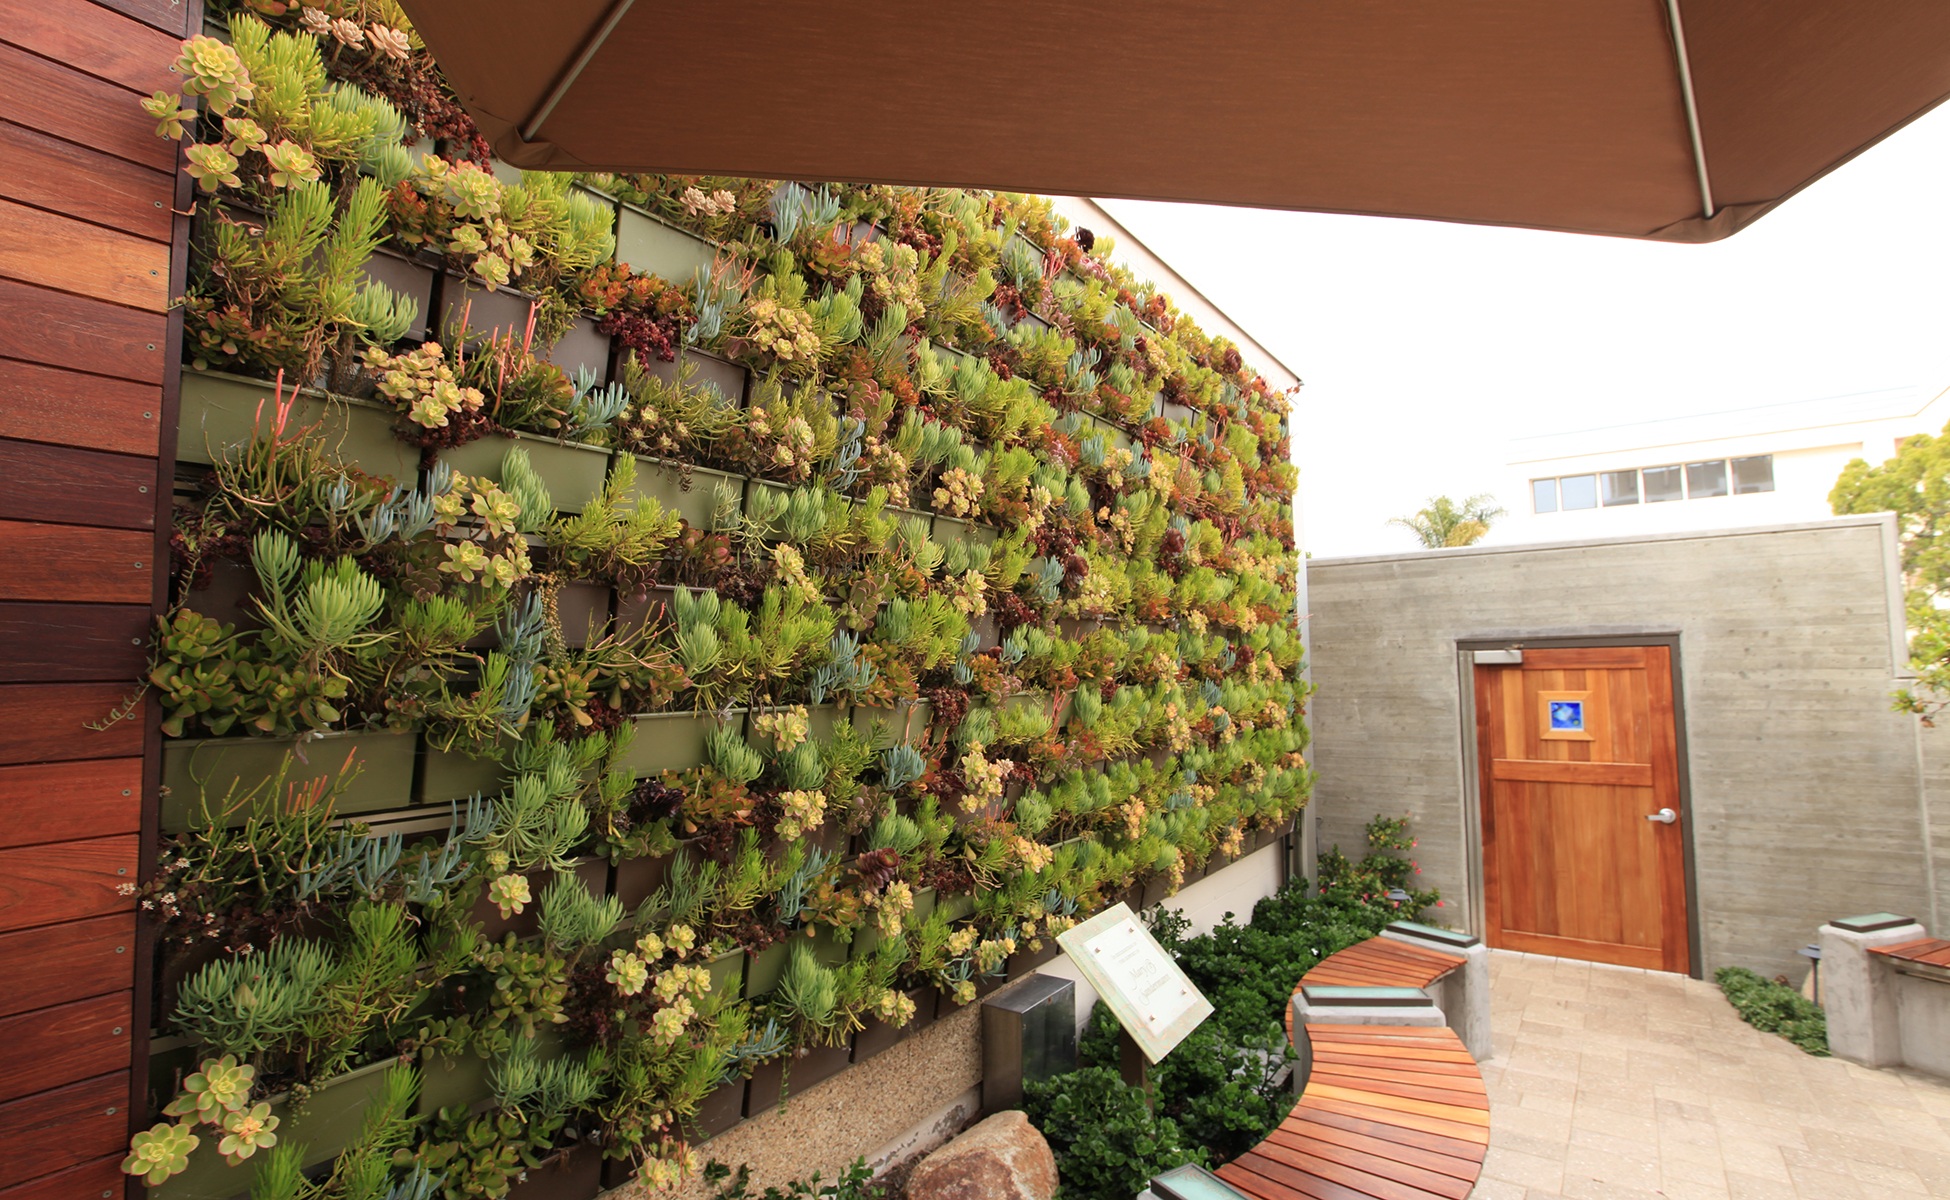
For Succulent Plants
Plants that can last decades without repotting, succulents need a good quality mix, typical of one marketed for rock gardening. The unique quality of such mixes is that they have a high mineral content (e.g. perlite, pumice, or expanded shale) and less organic matter, and therefore do not decompose over time.
LiveWall Standard size planters are available in two widths. The soil volume of each planter is:
half – 0.109 cubic feet.
full – 0.217 cubic feet.

LiveWall Large size planters are supplied in a single width. The soil volume of each planter insert is 0.4 cubic feet.

Please Note:
Depending on the soil type and starter plant size, additional soil may need to be ordered to account for settling.
5: Select Planting Method
Option #1: Transplant Small Plants
Planting green walls with small starter plants is very easy. First, fill the planter inserts to the top with soil.
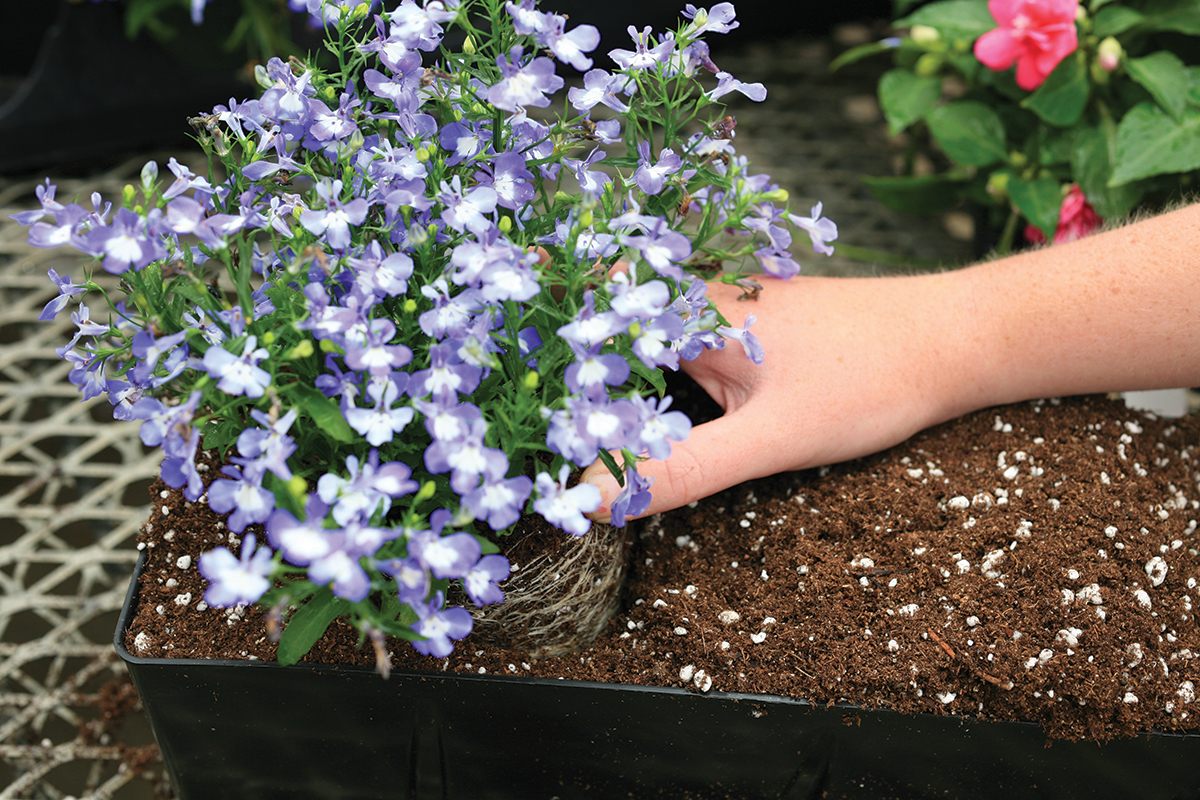
Transfer starter plants into the soil, typically 1-3 plants per planter, and match the soil depth of the starter plant to the soil depth in the planter insert.
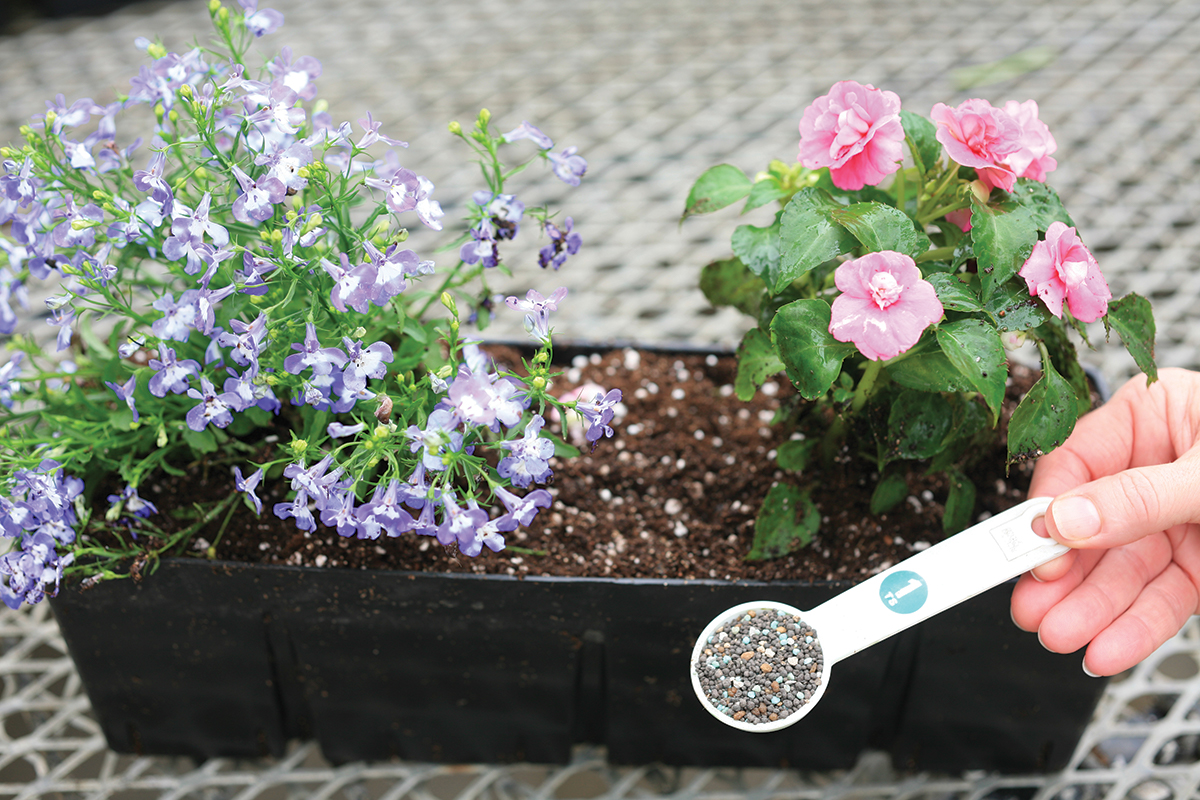
If the living wall will be watered with spray irrigation or hand watered, top-dress with a slow-release granular fertilizer. Standard size planters require 1-2 teaspoons, and large size planters typically require a tablespoon.
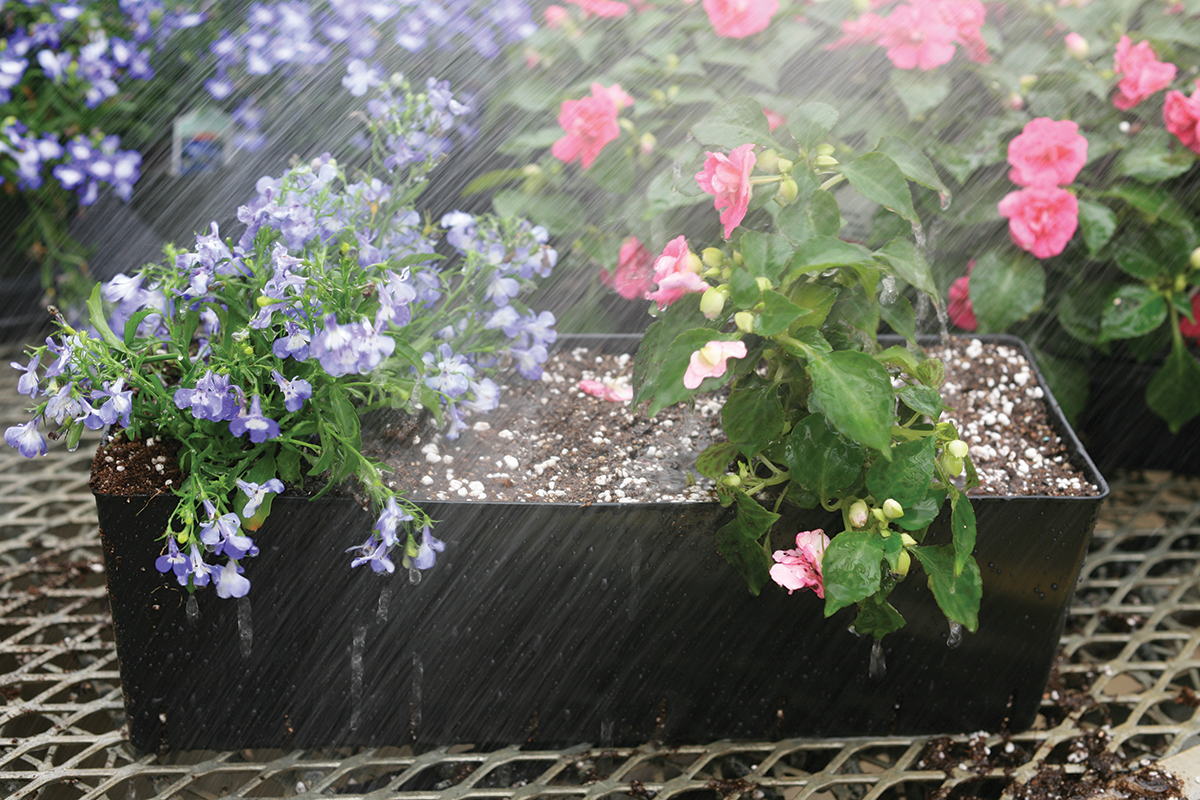
Gently water in the fertilizer and starter plants by hand with a hose fitted with mist nozzle before dropping the newly planted insert into the wall planter.
Important: Granular fertilizer should not be used with LiveWall systems that are watered with drip emitters.
The recommended method for fertilizing LiveWall systems depends upon the water delivery method and whether a fertilizer injector was installed on the irrigation mainline:
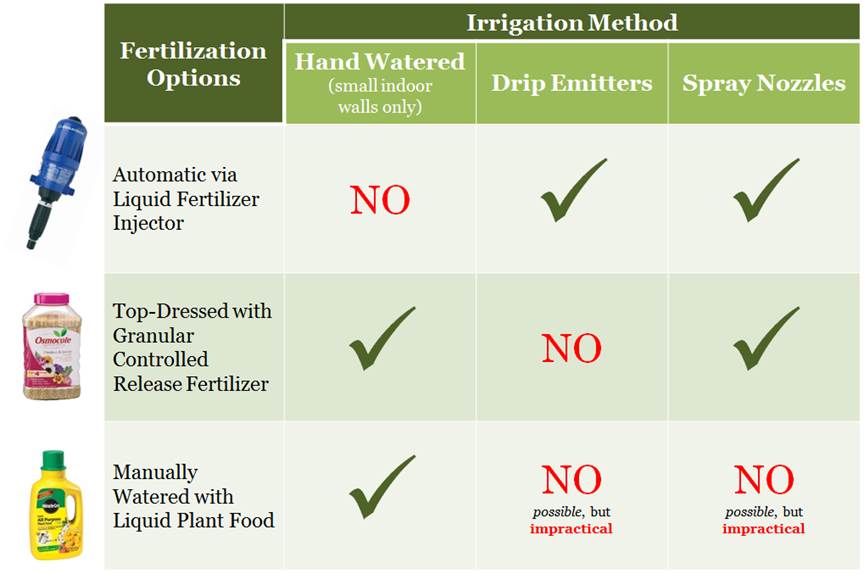

Automatic Fertilization
LiveWall systems may be purchased with a fertilizer injector that is tied into the irrigation system.
The fertigation system injects a low dose of fertilizer each time your living wall is irrigated.
LiveWall supplies an organic liquid fertilizer concentrate that must be diluted prior to use. For more information, download the injector operation and dilution instructions.

Manual Slow Release Granular Fertilizer
Outdoor walls and hand-watered indoor walls may be fertilized once annually using a granular slow release fertilizer such as Scotts Osmocote®.
A single spring application is usually sufficient to feed plants through the growing season. Shake one teaspoon of fertilizer evenly across the soil surface of each full-width, Standard sized wall planter. Apply half as much for half-width Standard size planter and twice as much for Large planters.

Manual Liquid Fertilizer
Every 6 to 12 months, indoor or outdoor living walls which do not have automatic fertigation may be fed with a higher concentration of liquid feed.
Fertilizer may be applied manually according to the label directions using a watering can or a hose.
IMPORTANT: Do not use granular fertilizer for indoor walls with automatic irrigation. The granules require water to run over the surface to activate, and LiveWall indoor systems include drip stakes that inject water directly into the soil.
Application rates will vary with formulation. In all cases, follow directions on package label.
All applications of fertilizer are the sole responsibility of the applicator.
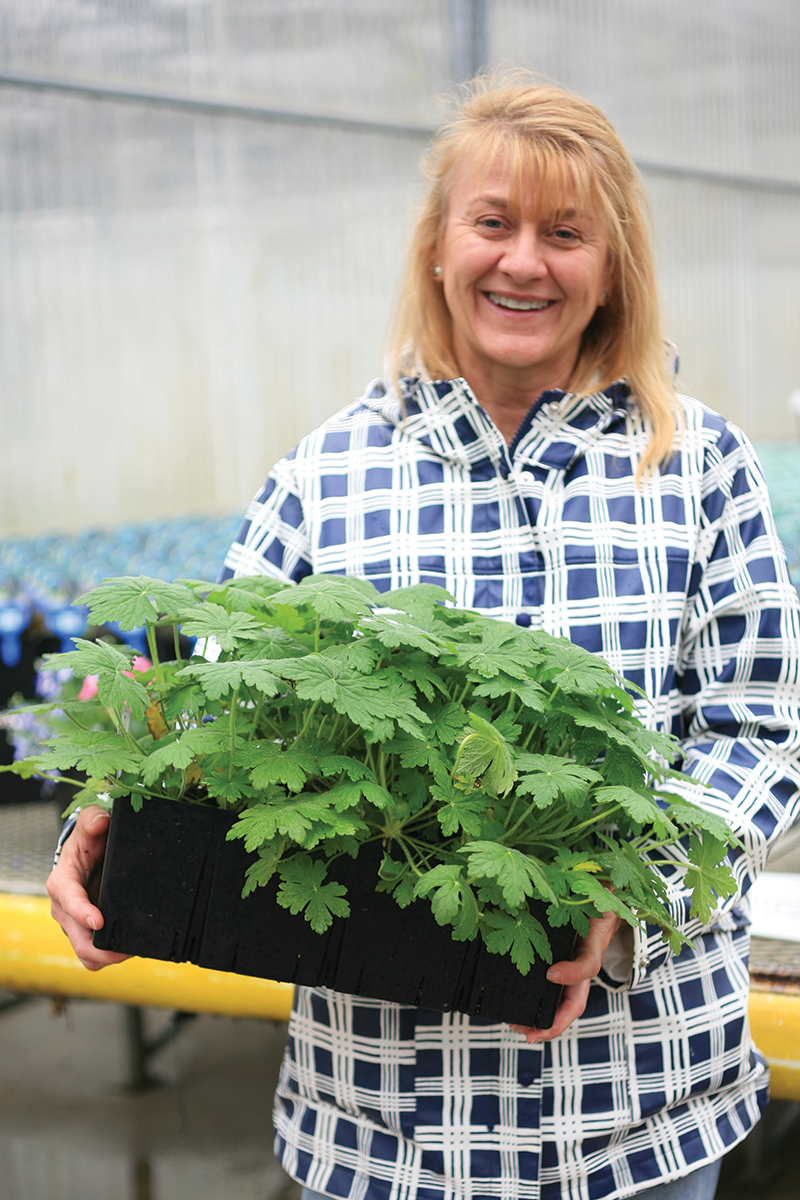
Option #2: Hire a Garden Center to Plant the Inserts
To maximize the impact of the growing season and save time, hire someone to grow the planted inserts for you!
If you chose to hire a grower, contact local greenhouses and/or garden centers. Ask them to use the inserts that you have received with your LiveWall or to have LiveWall ship them inserts directly in late winter so that the plants can be well-established in the spring.